
Last updated October 30, 2026
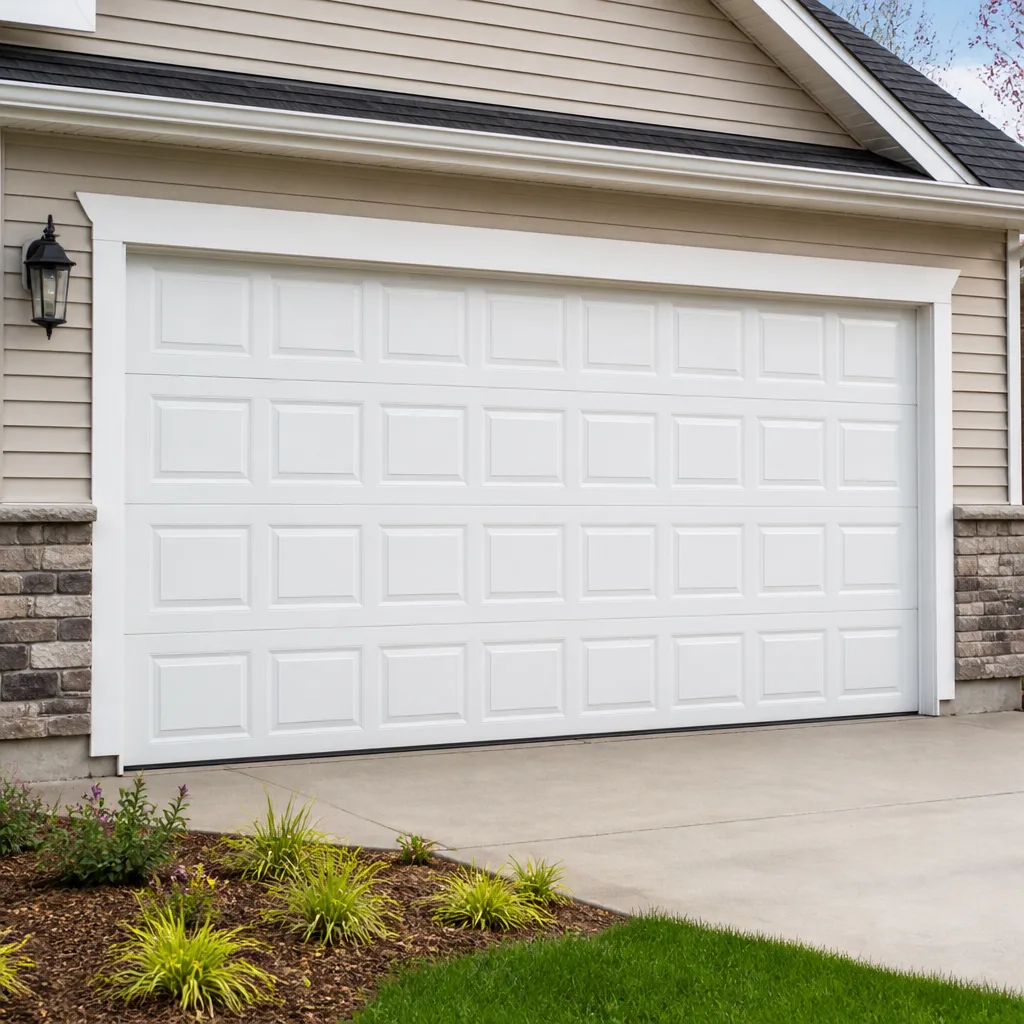 Raised-panel steel
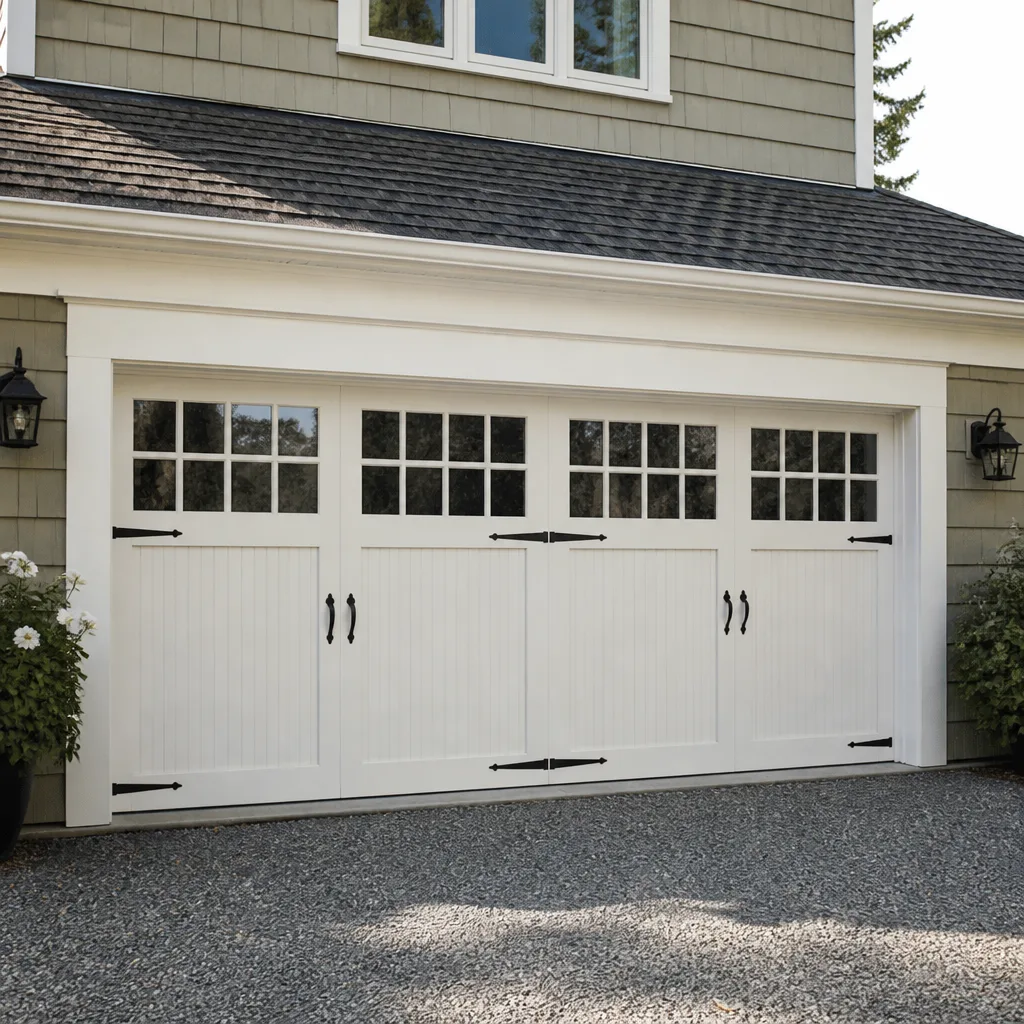 Carriage house
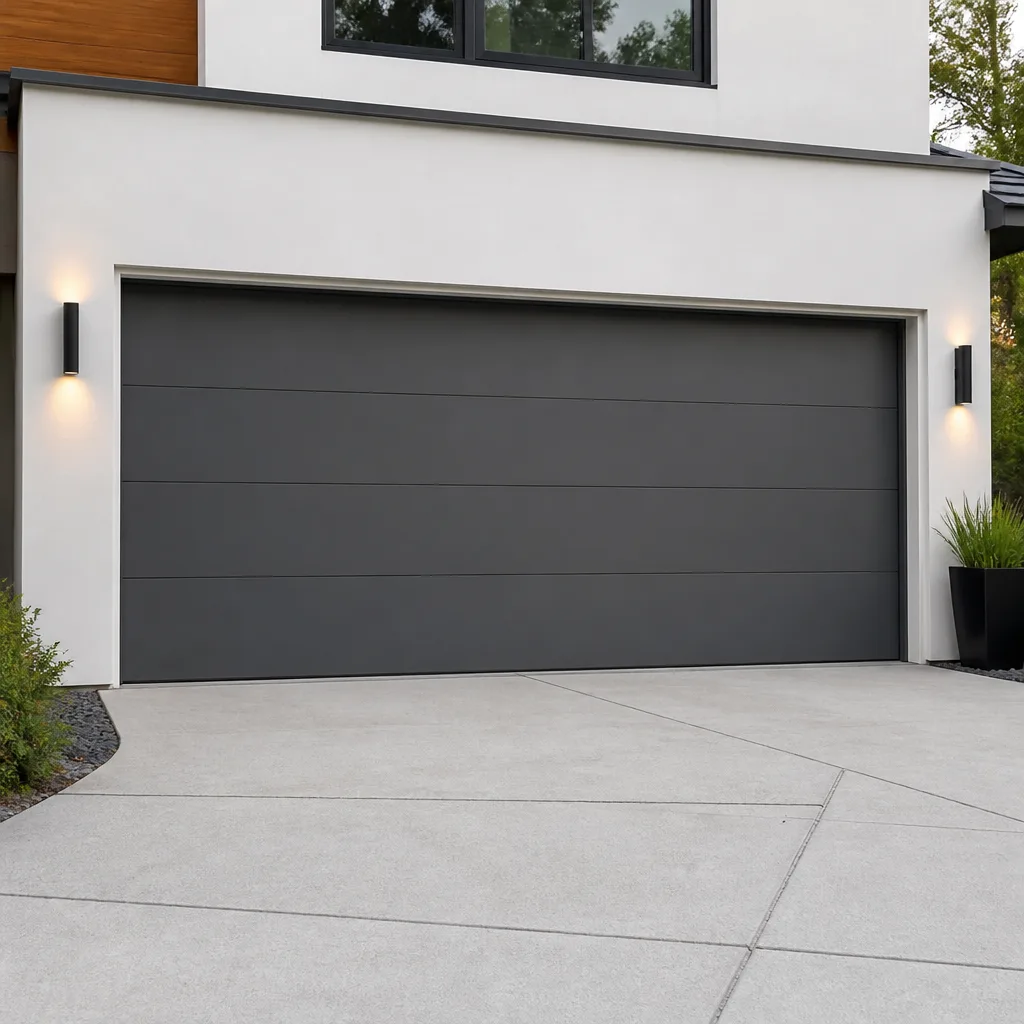 Modern flush
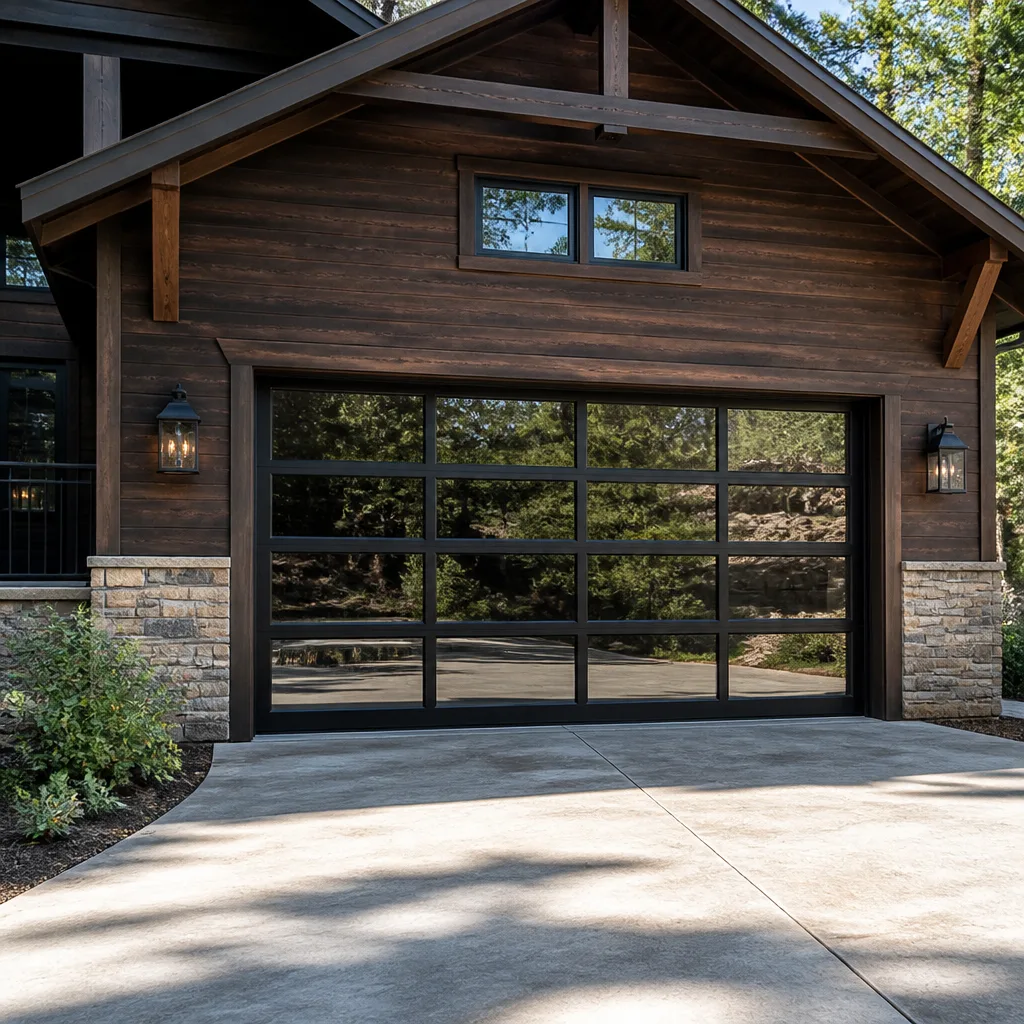 Full-view glass
 LiftMaster openers
 Chamberlain openers
Full 25-point door and opener safety check with every visit - springs, cables, rollers, tracks, and your LiftMaster or Chamberlain opener included
You get a price before we start. It does not change when the truck arrives.
Get your free estimateGarage Door Repair Troubleshooting: Common Problems and How to Fix Them
The most common call we get at West Palm Beach Garage Door Co starts with the words “my spring broke.” And here’s the thing: roughly four out of ten times, the spring is perfectly fine. The real culprit is something quieter – a worn cable drum, a limit switch that’s drifted out of calibration, or a photo eye that’s picked up a coat of Florida humidity. What you’re about to read is the guide we wish every homeowner had before they picked up the phone. You’ll learn how to read what your garage door is telling you, which problems you can safely address yourself, which ones demand a professional, and how to describe the symptom accurately enough to get a real quote instead of a vague estimate. This is the troubleshooting framework we use in West Palm Beach every single day.
Styles & brands we work with
Quick Answer
Most garage door problems fall into one of four categories: the opener isn’t communicating, the spring system has lost tension, the tracks or rollers are obstructed or misaligned, or a safety sensor is tripping. Start by checking the obvious – power, remote batteries, and whether anything is physically blocking the door – then work through the symptom-specific sections below. If the door is heavy to lift manually or makes a loud bang, stop and call a professional: those are spring or cable failures that can cause serious injury if handled wrong.
Table of Contents
- What Your Garage Door Noise Is Actually Telling You
- Door Won’t Open vs. Opener Can’t Lift: Two Different Problems
- Remote and Keypad Problems: The Signal Chain
- Door Stops Halfway or Reverses: Sensor and Limit Switch Issues
- The Manual Lift Test: Separating Door Problems from Opener Problems
- Springs and Cables: What to Look For, What Not to Touch
- Track and Roller Problems: Alignment, Wear, and the Florida Factor
- What to Tell a Technician Over the Phone
- Common Mistakes to Avoid
- When to Call a Professional
- Frequently Asked Questions
- The Bottom Line
What Your Garage Door Noise Is Actually Telling You
Every sound a garage door makes is a diagnostic clue. Grinding, squealing, banging, and clicking each point to a different mechanical system, and treating them as one generic “noise problem” is how small fixes balloon into expensive ones. Here’s the symptom-to-cause map we use when a homeowner in West Palm Beach calls about a strange sound.
Grinding: This is almost always metal-on-metal contact where there shouldn’t be any. The usual suspects are rollers that have lost their bearings, a chain that’s rubbing against the rail, or a motor gear inside the opener that’s stripped and spinning against itself. On LiftMaster and Chamberlain openers, a stripped drive gear is common after years of use – the opener motor runs, but the gear teeth have worn smooth and the chain can’t move.
Squealing or screeching: High-pitched noise typically means friction. Rollers need lubrication, or the belt or chain tension is off. On older Wayne Dalton doors with exposed torsion springs, a dry spring can squeal as the coils rub together. A quick shot of lithium-based spray lube on rollers and hinges often quiets this – but never use WD-40 on springs. It displaces the grease that keeps them from binding.
Banging or slamming: A door that hits the ground hard on closing usually has a spring tension problem – the springs aren’t doing their job of counterbalancing the door’s weight, so gravity takes over. This is different from a door that bangs mid-travel, which is usually a broken roller or a loose track bracket. Banging is a red flag. It means the spring system is compromised.
Clicking: Repeated clicking in the opener head, especially on Genie and Craftsman models, is often the relay trying to engage but failing, or the travel limit module shorting out. A single click followed by nothing usually points to the capacitor or the motor start winding. Clicking from the tracks instead of the opener head points to a roller binding in a bent section of track.
Door Won’t Open vs. Opener Can’t Lift: Two Different Problems
This distinction matters more than any other in garage door repair. “The door won’t open” and “the opener can’t lift the door” are two completely different diagnoses with two completely different price tags, and mixing them up is the fastest way to get sold a replacement you don’t need.
Here’s how to think about it. The door itself is a physical object – panels, rollers, tracks, springs, cables. The opener is a motor that pulls a trolley along a rail. If the opener is running (you hear the motor) but the door isn’t moving, the problem is in the connection between the two: the emergency release cord has been pulled and the trolley is disconnected, the chain or belt snapped, or the opener gear stripped.
If the opener isn’t running at all, the problem is electrical or electronic: no power to the unit, a tripped GFCI, a blown fuse on the opener board, a dead wall switch, or a failed logic board. Before calling anyone, check the outlet with a lamp or phone charger. In West Palm Beach, we see a surprising number of “dead” openers that are simply plugged into a GFCI outlet inside the garage that tripped during a storm. Press the reset button on the outlet and the opener often comes right back.
If the opener runs, the trolley moves, but the door only lifts a few inches and stops – that’s a spring or cable problem. The opener is trying to lift a door that suddenly weighs two or three times what it should, and the opener’s internal force limiter is cutting out to protect the motor. This is the “opener can’t lift the door” scenario, and it’s the one that most often gets misdiagnosed as a bad opener. The opener is fine. The springs aren’t.
Remote and Keypad Problems: The Signal Chain
Remote control issues are the most fixable garage door problems, and also the most incorrectly replaced. Before you buy a new remote or – worse – a new opener, work through the signal chain. There are four links: the remote, the receiver in the opener, the wall control, and the power supply. Any one of them can fail independently.
1. Test the wall control. Press the wall button. If the door opens, the opener’s receiver and motor are fine. The problem is in the remote or keypad, not the opener.
2. Check the remote battery. It sounds obvious, but a weak battery can produce a signal strong enough to flash the opener’s LED but not strong enough to trigger the relay. Replace it before anything else. If you have multiple remotes and only one fails, it’s the remote.
3. Check the lock button. Many openers, especially Raynor and LiftMaster models, have a “lock” feature that disables the remotes but leaves the wall control active. This is the most common cause of “the remote worked yesterday” calls. Hold the lock button for three seconds until the LED goes out.
4. Reprogram. Remotes occasionally lose their pairing, especially after power surges. The reprogramming sequence differs by brand – Chamberlain and LiftMaster use the learn button on the back of the motor head, Genie uses the program button on the powerhead, Raynor typically uses a smart panel. The sequence is in the manual, and it takes about thirty seconds.
5. Keypad entry systems fail in two ways: the battery dies, or the code memory resets. If the keypad lights up but the door doesn’t move, reprogram it. If the keypad doesn’t light up, the battery is dead. If neither works, the keypad itself has failed and needs replacing – which is a ten-minute job, not a reason to replace the whole opener.
One note specific to our area: the salt air and humidity in West Palm Beach are hard on keypad contacts and remote circuit boards. We see keypads here corrode from the inside out in three to five years, even when they look pristine on the outside. If your keypad is older than that and acting inconsistent, that’s the likely culprit.
Door Stops Halfway or Reverses: Sensor and Limit Switch Issues
A door that starts opening, travels partway, and stops or reverses is one of the most common calls we get. When it happens, it’s usually one of two things: the photo eye safety sensors are misaligned or blocked, or the travel limits have drifted.
Photo eyes first. Every opener built after 1993 has two photo eyes mounted near the floor on either side of the door. If they don’t see each other, the opener won’t close – and many models will also refuse to open fully. A misaligned eye, a dirty lens, or a leaf stuck between them are the usual causes. Look at the small LED on each eye. If one is blinking, that eye is the problem. Wipe the lenses, make sure they’re pointed at each other, and clear anything in the beam path – including spider webs, which are surprisingly common.
Limit switches next. The limit switches tell the opener where the door should stop at the top and bottom of its travel. Over time, vibration causes them to drift. A door that opens or closes a few inches too far, or stops short of the floor, usually needs the limits adjusted. On older Craftsman and Chamberlain units with exposed limit screws, this is a simple adjustment – but make small turns, a quarter rotation at a time, and test after each adjustment.
Force settings after that. The force setting controls how much resistance the opener will push against before reversing. If the door is binding – a roller going bad, a track out of alignment – the opener reads that resistance as an obstacle and reverses. Increasing the force setting to “push through” a binding door masks the problem and eventually burns out the motor. The correct fix is to find what’s binding. The force setting is a diagnostic, not a repair.
In West Palm Beach’s summer afternoons, we also see heat-related false reversals. When the sun beats directly on the photo eye, it can overheat the internal sensor and trigger intermittent reversal. A simple shade or repositioning fixes it. We deal with this specific call often enough in this area that it’s worth mentioning here.
The Manual Lift Test: Separating Door Problems from Opener Problems
This is the single most useful diagnostic step any homeowner can perform, and it takes less than a minute. It tells you definitively whether your problem is in the door system or the opener system, and that knowledge alone can save you hundreds of dollars.
Here’s the procedure:
- Close the door completely.
- Pull the red emergency release cord hanging from the opener rail. This disconnects the door from the opener trolley.
- Lift the door by hand. Use the handles or the bottom panel, and lift with your legs.
- Pay attention to how it feels and what you hear.
A properly balanced door should lift smoothly with roughly 8 to 15 pounds of effort, stay open at about waist height when you let go, and close without slamming. Most people can lift a balanced door with one hand.
If the door is heavy – genuinely difficult to lift, or impossible to hold open – the springs have lost tension or broken. The opener was doing extra work to compensate, and that’s why the door was misbehaving. This is a spring repair, not an opener repair. In West Palm Beach, our technicians regularly replace torsion springs on Amarr, Clopay, and Wayne Dalton doors where the homeowner was convinced they needed a new opener.
If the door lifts easily by hand but won’t move when you press the button, the opener is the problem – the gear, the logic board, the capacitor, or the trolley connection. Either way, you now know which system to investigate. Pulling the release cord while the door is open is dangerous, so always start with the door closed.
Springs and Cables: What to Look For, What Not to Touch
Garage door springs do an enormous amount of work. A standard 16-by-7-foot residential door weighs anywhere from 150 to 250 pounds, and the springs counterbalance that weight every single time the door moves. When a spring fails, the door becomes dangerously heavy, and the failure is often loud – a bang that sounds like a gunshot from inside the house.
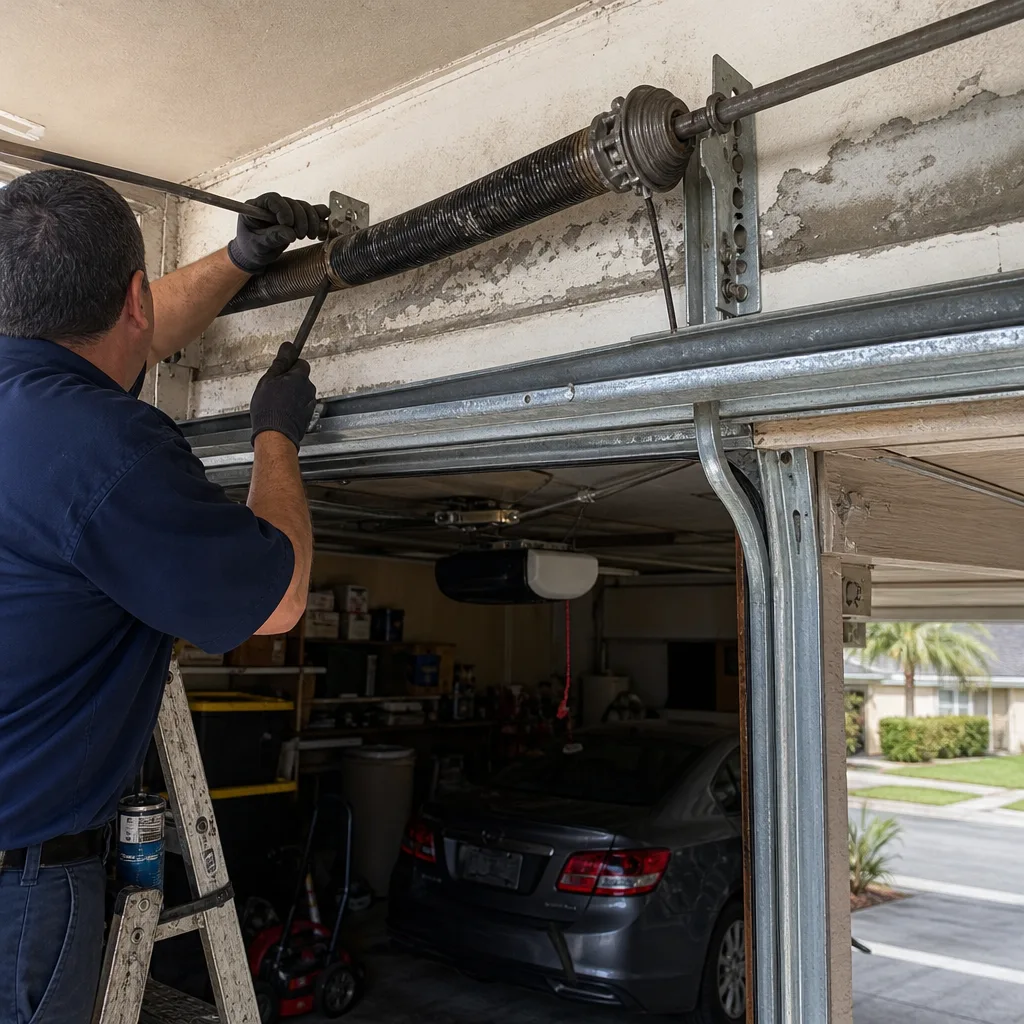
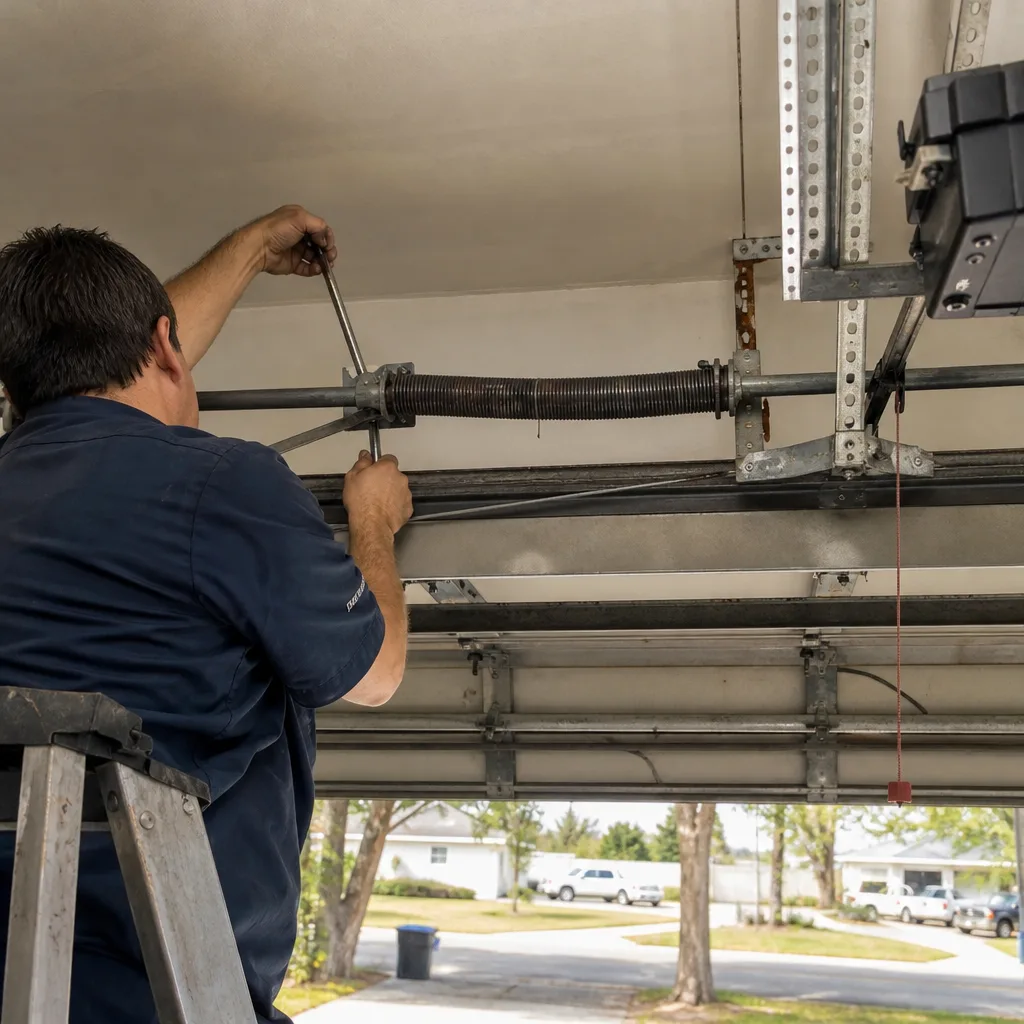
What you can safely inspect: Stand inside the garage with the door closed and look up. If you have a torsion spring system – one or two springs mounted horizontally on a tube above the door – look for a visible gap in the coil. A broken torsion spring has a clean break, usually a half-inch to two-inch separation. If you have extension springs – two long springs running parallel to the tracks on either side – a broken spring will be stretched out and dangling or visibly separated. Look for frayed cables too. A cable that’s starting to unravel will have loose wire strands visible along its length. If you see any of these signs, do not operate the door.
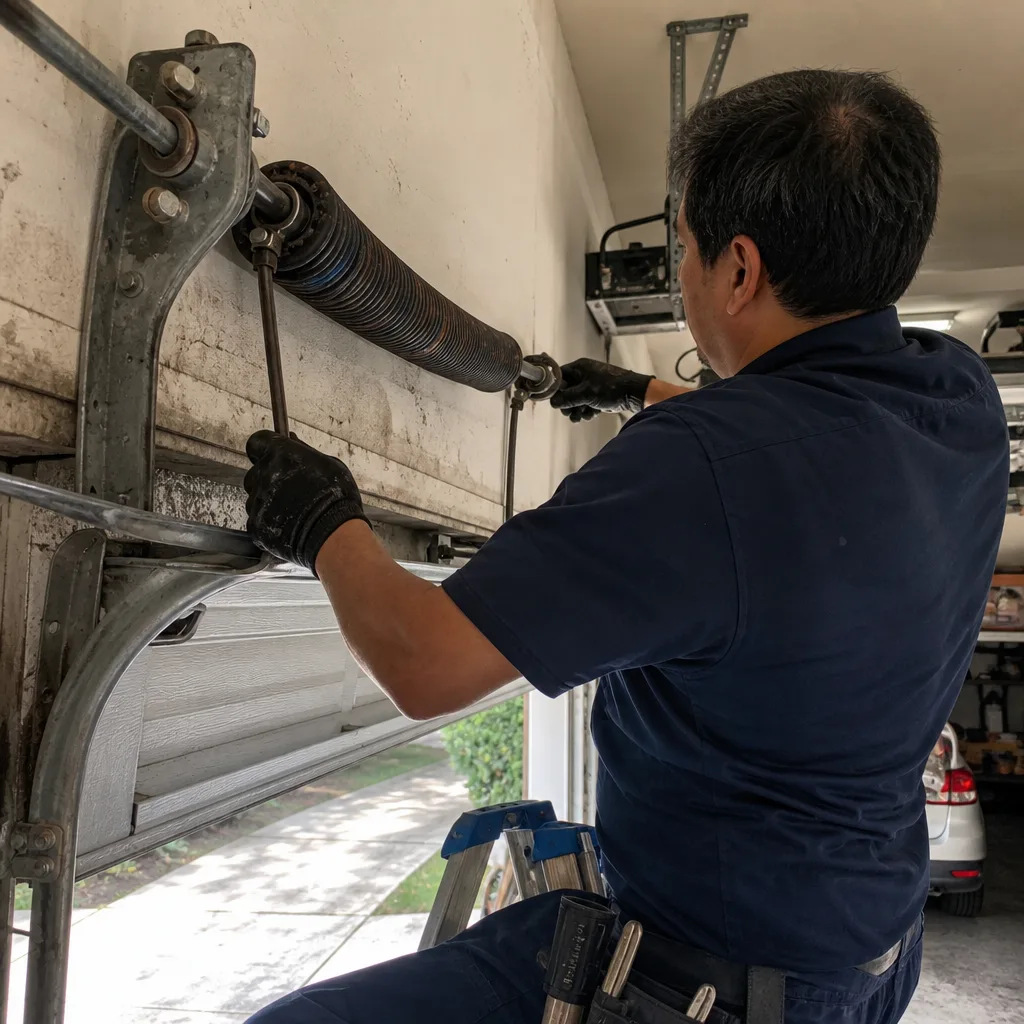
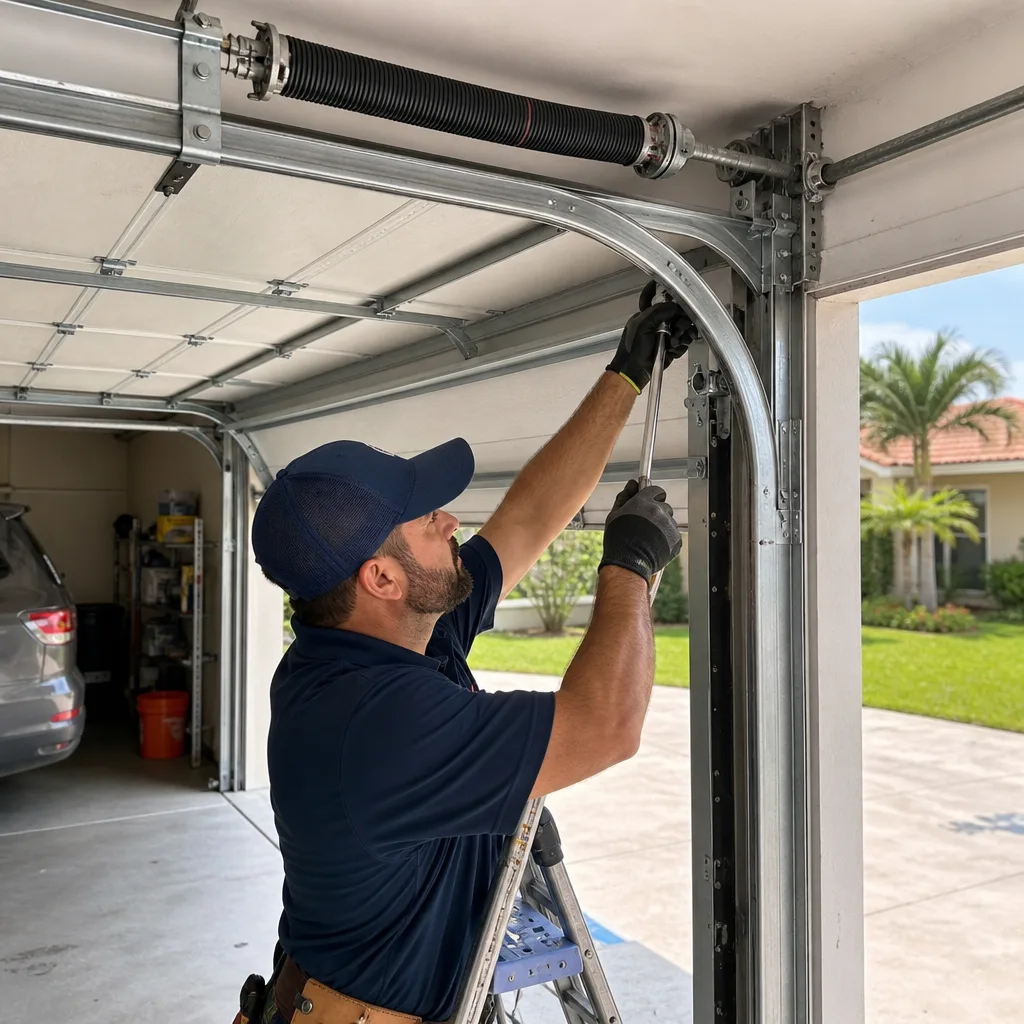
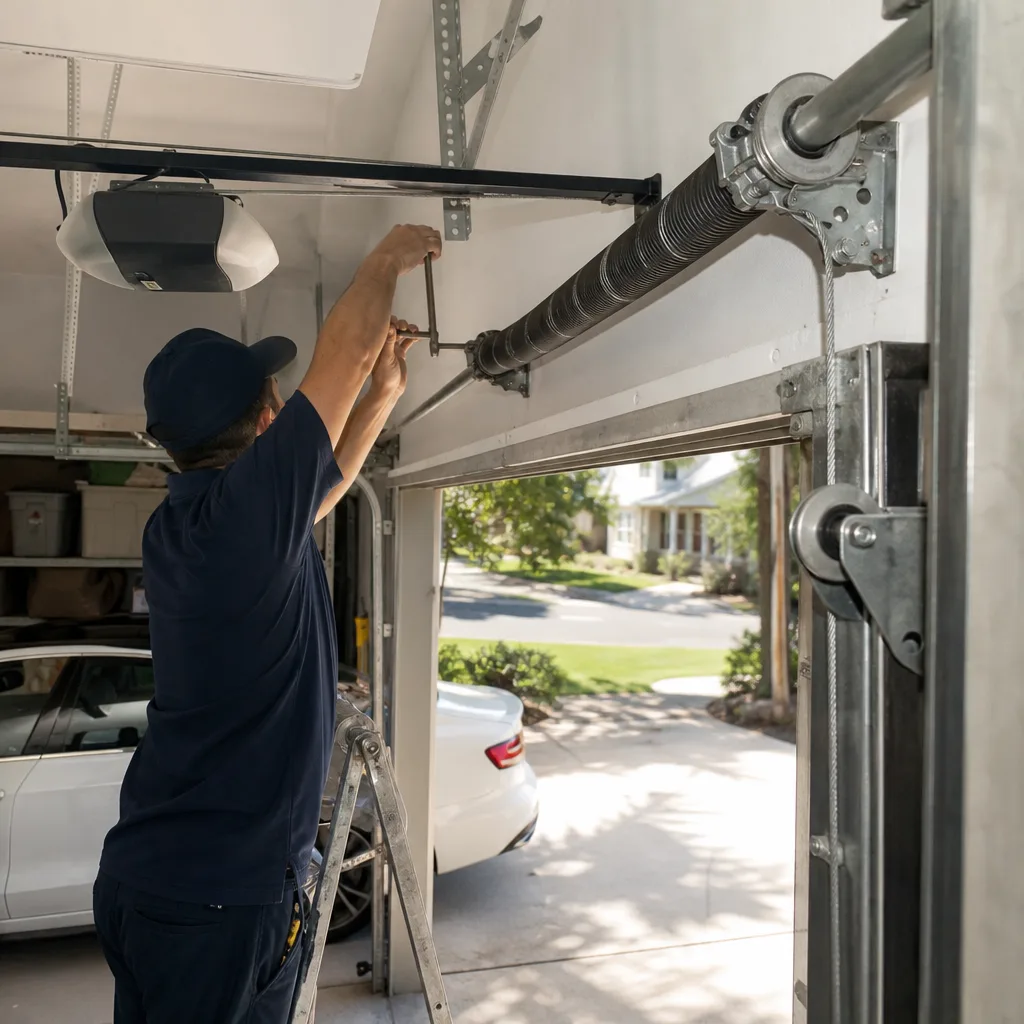
What you should never touch: Torsion springs are under tremendous tension. The winding cone at the end of the spring holds enough stored energy to cause severe injury or death if it lets go while you’re working on it. Adjusting torsion spring tension requires winding bars, not screwdrivers, and the procedure is unforgiving of mistakes. Extension springs are safer but still dangerous if they snap while you’re in the path. This is not a place for DIY experimentation. Videos that show “how to adjust your garage door spring” with basic hand tools are showing a procedure that professional technicians approach with respect and specialized equipment.
One thing specific to the Florida climate: salt air accelerates cable corrosion. We regularly see cables in West Palm Beach homes that look intact but snap under load because rust has eaten the strands from the inside. If your door is more than eight years old and you live within a few miles of the coast, have the cables inspected even if the door seems fine. The check takes a technician minutes, and the replacement is far cheaper before the cable snaps than after.
Track and Roller Problems: Alignment, Wear, and the Florida Factor
The track system guides the door from closed to open and back, and small problems here create cascade failures elsewhere. A misaligned track causes the door to bind, which causes the opener to work harder, which causes the motor and gears to fail prematurely. That’s how a $40 roller replacement becomes a $400 opener rebuild.
What to check: Look at the vertical tracks on either side of the door. The gap between the track and the door edge should be consistent from top to bottom. If a track is bent, you’ll see the door sit closer to the track in one spot and farther away in another. Look at the bolts holding the track brackets to the wall – they can work loose over time. And run your hand along the inside of the track (with the door closed) to feel for dents or deformation.
Rollers: Most residential doors use nylon rollers with ball bearings inside. When the bearings fail, the roller doesn’t spin; it slides. That creates the grinding noise mentioned earlier and eventually carves a flat spot into the roller, which then wobbles in the track and carves a groove into the track itself. Replacing a failed roller early is a five-minute, inexpensive fix. Replacing a track that’s been damaged by a failed roller is a much larger job.
The Florida factor: Humidity and salt air do two things to track systems. First, they accelerate rust on bare metal components, and second, they cause the lubricant on rollers and hinges to break down faster. Our recommendation for West Palm Beach homeowners is to lubricate rollers, hinges, and springs every six months with a lithium-based spray, and to have tracks inspected annually. It’s cheap insurance in this climate.
What to Tell a Technician Over the Phone
The difference between a technician who arrives with the right parts and a technician who arrives, looks at the problem, and drives away to fetch something is often determined in the first sixty seconds of the phone call. Here’s how to get an accurate quote before anyone leaves the shop.
- Describe the symptom, not your diagnosis. Say “the door makes a grinding noise and stops halfway up” instead of “the spring is broken.” Your description of what’s happening is more useful than your conclusion about why it’s happening.
- Report what the manual lift test showed. Tell them whether the door is heavy to lift by hand or feels normal. This single data point separates spring problems from opener problems.
- Give the brand and approximate age of the door and the opener. “It’s a Raynor door and a Chamberlain opener, both from around 2016” tells the technician which parts to load on the truck. We stock parts for all eight major brands – LiftMaster, Chamberlain, Genie, Clopay, Amarr, Wayne Dalton, Craftsman, and Raynor – so telling us the brand means we arrive prepared.
- Describe any recent changes. Did the door start acting up after a storm? After painting the garage? After moving a shelf that might be blocking a sensor? Context narrows the problem.
- Mention what you’ve already tried. If you’ve replaced remote batteries, checked the GFCI, and pulled the release cord, say so. It prevents double-diagnosis and saves call time.
A good technician will ask you these questions anyway. Answering them up front gets you a tighter quote and a faster repair. When you call the West Palm Beach Garage Door Co home team, this is the exact information we’ll ask for.
Common Mistakes to Avoid
- Spraying WD-40 on everything. WD-40 is a solvent, not a lubricant. On rollers and hinges it strips away the remaining grease and leaves the metal dryer than before. Use lithium-based spray lube on moving parts, and nothing on torsion springs.
- Adjusting spring tension without winding bars. This is how serious injuries happen. A torsion spring under tension holds enough energy to break bones. If a video tells you to adjust spring tension with a screwdriver, close the video.
- Increasing the opener force setting to “fix” a binding door. The opener reverses because it’s detecting resistance. Turning up the force doesn’t fix the resistance; it just orders the opener to push through it. The binding gets worse, and the motor eventually burns out.
- Replacing the opener when the springs are the problem. If the manual lift test shows a heavy door, a new opener won’t help. The springs are doing the lifting, and the opener just moves the door along the track. In West Palm Beach, we routinely talk homeowners out of replacing openers that are actually fine.
- Ignoring a loud bang and continuing to operate the door. A spring snap is unmistakable. But some homeowners keep pressing the button, and the opener strains against a door that now weighs double. Operating a door with a broken spring damages the opener, the cables, and the panels. When you hear the bang, stop using the door.
- Assuming the remote is broken when the lock button is engaged. This comes up constantly. Before you buy a new remote, check whether the wall control’s lock feature has been activated. It disables the remotes, not the wall button.
- Waiting to address cable fraying. Frayed cables don’t heal. They snap, and when they snap while the door is open, the door can slam down. If you can see loose strands, the cable is already failing. Coastal West Palm Beach homes should have cables checked annually.
When to Call a Professional
Some garage door problems are safely DIY-able: replacing remote batteries, clearing photo-eye obstructions, lubricating rollers, resetting a tripped GFCI. Others are not. Broken torsion springs, snapped or frayed cables, bent tracks, stripped opener gears, and any problem that involves the spring assembly should be handled by a trained technician with the right tools and the right parts on the truck. The cut-off is simple: if the repair involves a component under tension or requires removing the door from its track, call. The risk of injury isn’t worth the savings.
West Palm Beach Garage Door Co offers free estimates in West Palm Beach – call (877) 265-9120. We arrive with the parts and training to handle whatever brand is on your home, and we quote the price before any work starts.
Frequently Asked Questions
Most repairs in West Palm Beach run between $125 and $350 for common issues like roller replacement, sensor realignment, limit switch adjustment, or remote reprogramming – while spring replacement typically falls in the $250 to $450 range depending on spring type and door size. Your exact price depends on the components involved and the door’s configuration, which is why we quote every job before work begins. Call (877) 265-9120 for a free estimate on your specific door.
Yes, we keep same-day appointments available for urgent repairs in West Palm Beach, particularly when a door is stuck open, stuck closed, or blocking a vehicle. Broken springs and snapped cables are emergency situations, and our technicians are dispatched with the parts for all eight major brands on the truck. Call early in the day for the best chance of a same-day visit.
Yes – we service LiftMaster, Chamberlain, Genie, Clopay, Amarr, Wayne Dalton, Craftsman, and Raynor equipment. Our repair service is brand-agnostic: whatever is already on your home, we work on it. We don’t push replacement toward a proprietary brand, and we carry parts for all of these manufacturers in our trucks.
No – the price we quote over the phone is the price you pay, unless the technician finds additional damage that you’d want to know about before any work proceeds. If that happens, the job stops, you get a new price, and you make the call. Nothing gets done without your approval on the number.
Intermittent operation almost always points to one of three causes: a failing remote battery, a photo eye that’s misaligned or intermittently blocked, or a logic board that’s beginning to fail in the opener head. In coastal West Palm Beach, corrosion on the opener’s circuit board from humidity is a common culprit we see on units older than seven or eight years. Start with the remote battery and the photo eye LEDs.
Torsion springs are rated by cycle life, typically 10,000 cycles for standard springs, which translates to roughly seven to ten years for a door that opens three or four times a day. In West Palm Beach’s humid, salt-affected environment, we see springs on the lower end of that range, especially in coastal neighborhoods. If your springs are past seven years old and the door has started feeling heavier, it’s time for an inspection.
Yes – if a door has damage that makes repair impractical, we provide full Garage Door Installation in Loxahatchee Groves and the surrounding West Palm Beach area, including selecting the right door for the home and the climate. Our team covers the full lifecycle, so if you need Garage Door Repair in Loxahatchee Groves today or a replacement estimate, it’s one call. For openers specifically, we also provide standalone Garage Door Opener Repair in Loxahatchee Groves.
The Bottom Line
Garage door troubleshooting rewards a symptom-first approach. The noise, the hesitation, the intermittent remote – these are clues to a root cause that’s often in a different system than the symptom suggests. Use the manual lift test to separate door problems from opener problems. Check the cheap and safe things first: batteries, GFCI outlets, photo eye alignment, and the lock button. Know which components are under tension and leave those alone. And when the problem is beyond a simple adjustment, call a specialist who works on whatever brand you own. The faster the diagnosis is accurate, the cheaper the repair is. For free estimates in West Palm Beach, call (877) 265-9120 – the price is quoted and agreed before any work starts.
Written by the team at West Palm Beach Garage Door Co, serving West Palm Beach since 2013.
See the difference
 Before
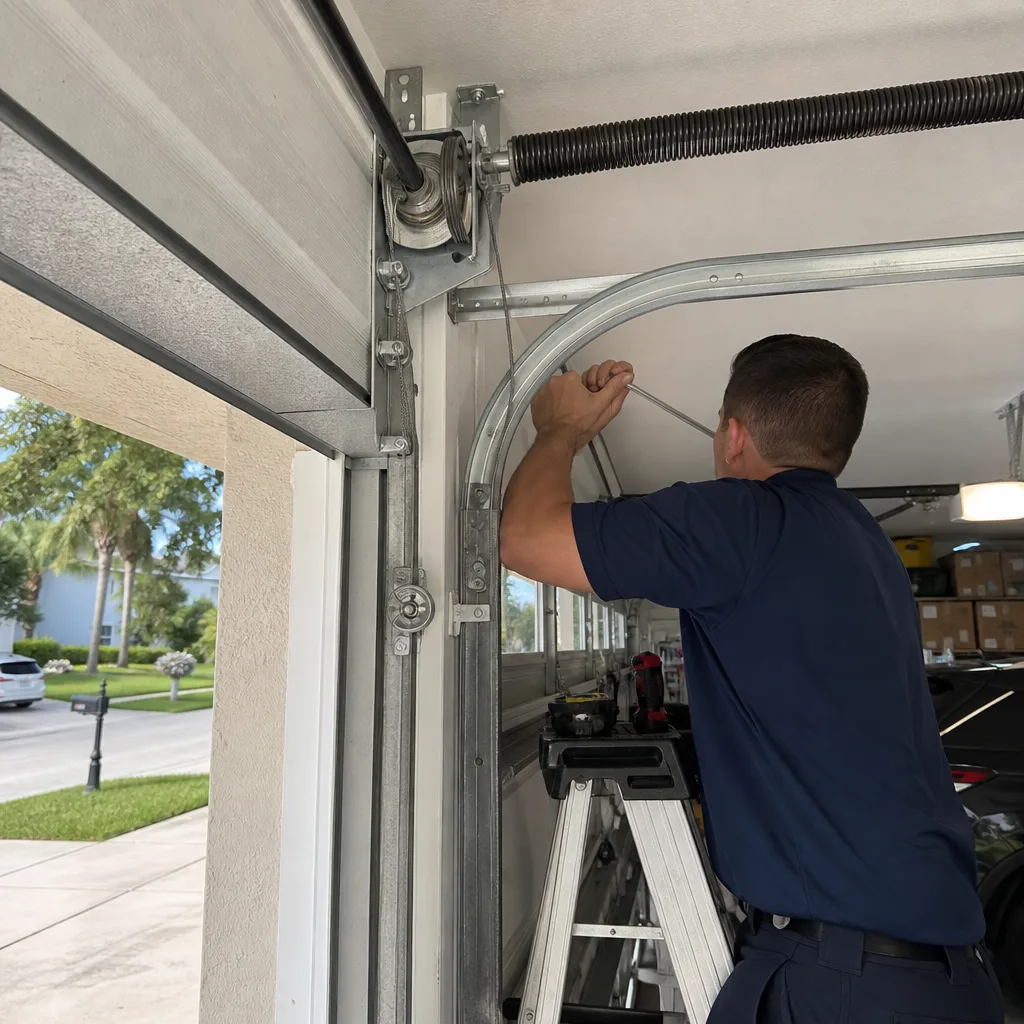 After
 Before
 After
 Before
 After